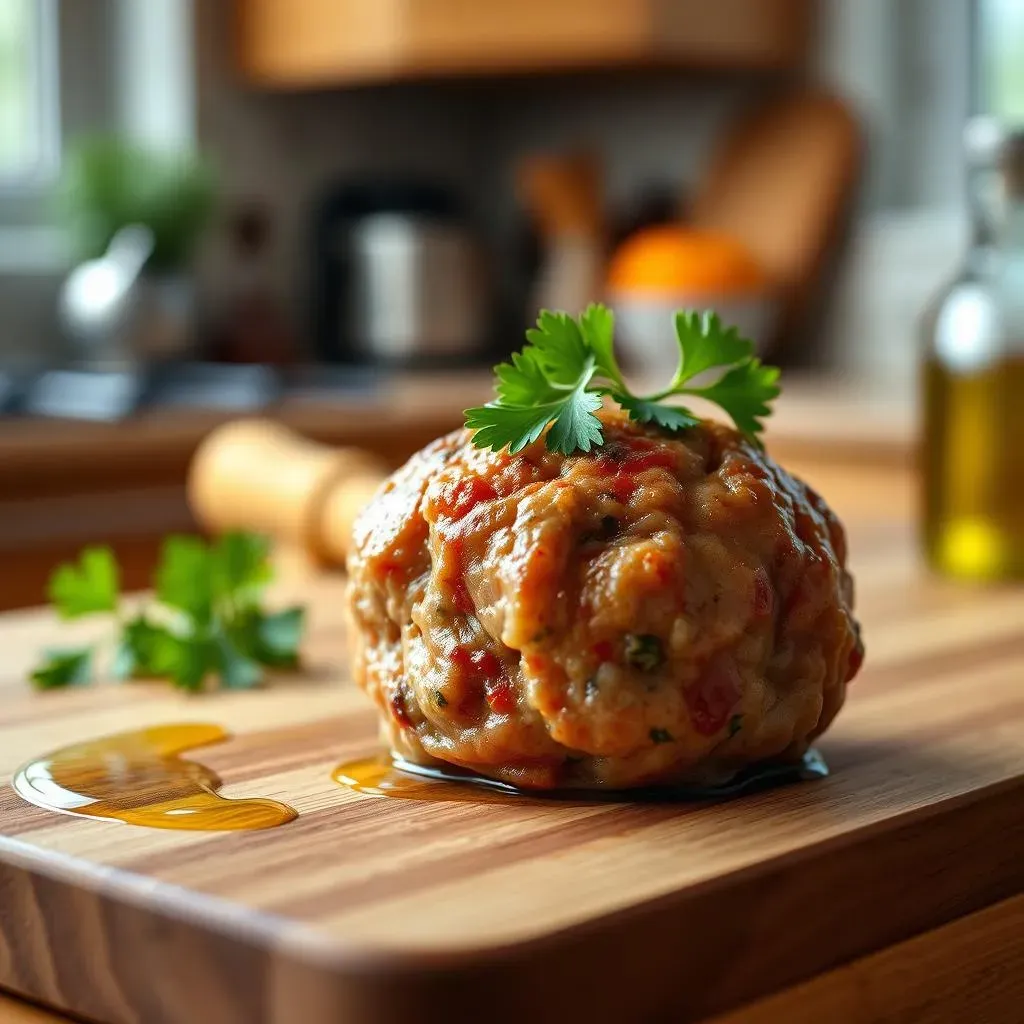
Okay, let's be real, who doesn't love a good meatball? But sometimes, you just want to skip the breadcrumbs. Maybe you're trying to cut carbs, or perhaps you're just out of bread, and you don't want to run to the store. Whatever the reason, this easy meatball recipe no breadcrumbs is about to become your new best friend. We're not talking about dry, flavorless hockey pucks here. Nope, these meatballs are juicy, savory, and totally satisfying. I've been making them for years, tweaking the recipe until it was just right. Think of this as your go-to guide for meatball perfection, without the bread. I'll walk you through all the steps, from mixing the ingredients to baking them to golden perfection. Get ready to impress your family and friends with a dish that's both simple and delicious. We'll cover everything from the best ingredients to use, to my expert tips on how to make sure your meatballs stay moist and tender. Plus, I'll share some ideas on how to serve them and what to do with any leftovers (if there are any!). So, let's get cooking!
Ingredients for Easy Meatball Recipe No Breadcrumbs

Ingredients for Easy Meatball Recipe No Breadcrumbs
The Meat
Alright, let's talk meat! For this easy meatball recipe no breadcrumbs, I usually go with lean ground beef, about 1.5 pounds. It's got a good flavor and keeps the meatballs nice and juicy. But here's the thing, you can totally mix it up! Ground turkey or chicken works great too, if that's what you're feeling. Sometimes, I even do a combo of beef and pork for a richer taste. The key is to use something with a bit of fat to keep those meatballs from drying out.
Don't be afraid to experiment! Just remember the fat content. If you're using a super lean meat, like ground turkey breast, you might want to add a touch of olive oil or a little grated cheese to help with the moisture. This recipe is all about flexibility, so use what you like and what you have on hand. The best part about this is, it is really simple, no need to make an extra trip to the grocery store.
The Flavor Boosters
Okay, so we've got our meat sorted, now it's time for the flavor party. We're talking about salt, pepper, onion powder, garlic powder, and some grated parmesan cheese. Don't skimp on these! They're what makes these meatballs so tasty. I usually use about a teaspoon each of the salt, pepper, onion powder, and garlic powder. And then, I add about a quarter cup of grated parmesan.
The parmesan is not just for flavor though, it also helps to bind the meatballs together since we're skipping the breadcrumbs. If you're dairy-free, you can leave it out or use a dairy-free cheese alternative. Also, if you're feeling fancy, you can add a pinch of red pepper flakes for a little kick, or some dried oregano for that classic Italian flavor. But honestly, the basic mix is pretty darn good on its own.
Ingredient | Amount | Notes |
|---|---|---|
Lean Ground Beef | 1.5 pounds | Can substitute with turkey, chicken, or pork |
Kosher Salt | 1 teaspoon | Adjust to taste |
Black Pepper | 1 teaspoon | Freshly ground is best |
Onion Powder | 1 teaspoon | Adds a savory note |
Garlic Powder | 1 teaspoon | Adds depth of flavor |
Grated Parmesan Cheese | 1/4 cup | Optional, for binding and flavor |
StepbyStep: Making Easy Meatballs Without Breadcrumbs

StepbyStep: Making Easy Meatballs Without Breadcrumbs
Mixing the Ingredients
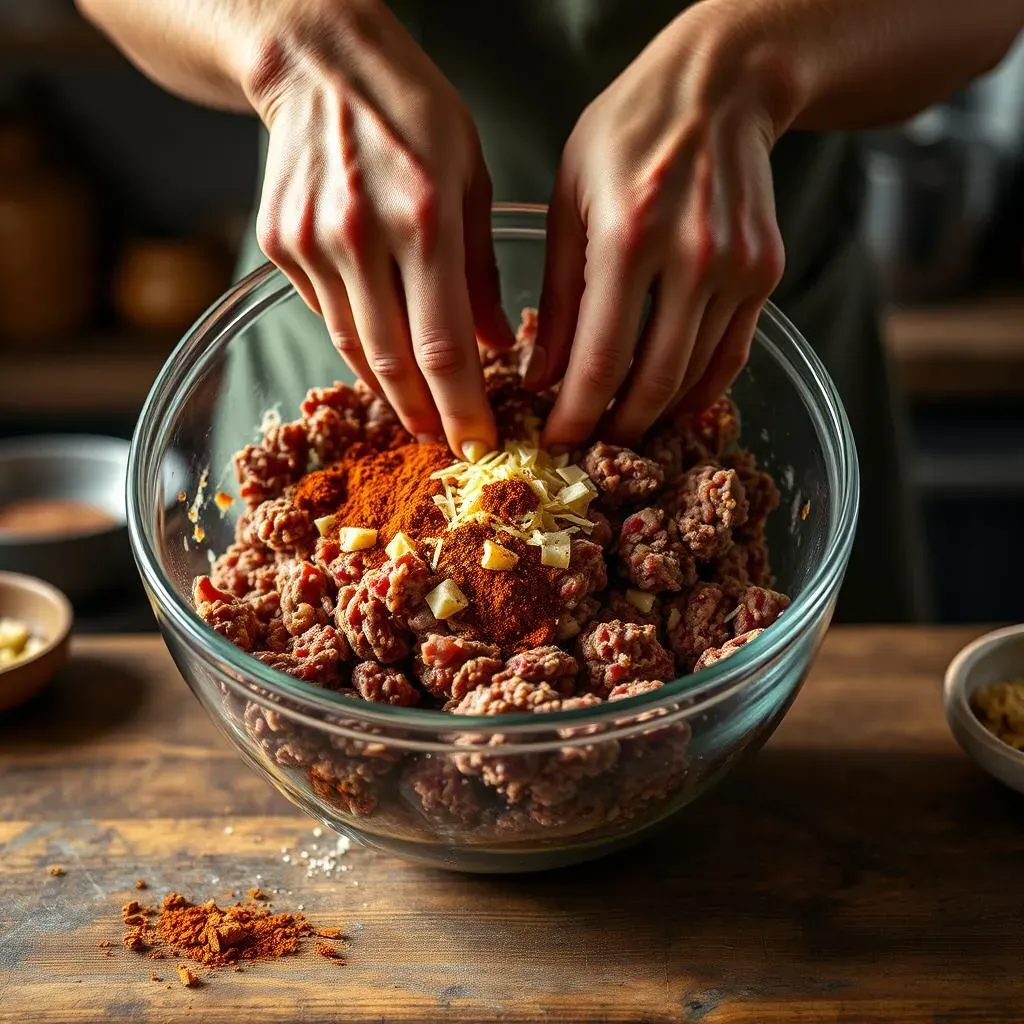
Okay, so you've got your meat and your flavor boosters ready, now it's time to get your hands dirty. Literally! In a large bowl, dump in your ground meat, salt, pepper, onion powder, garlic powder, and parmesan cheese. The key here is to mix everything gently. Don't overwork the meat, or it will become tough. I like to use my hands for this part, because it helps to get everything evenly distributed. Just squish it all together until it's well combined, but not pasty.
If you're not a fan of getting your hands messy, you can use a spatula or a large spoon. But really, there's something satisfying about getting in there with your hands. It’s a good way to feel the ingredients come together, and it can help you make sure everything is mixed just right. Just don't mix it like you're trying to knead bread, you are going to want it to be delicate when you are mixing it.
Forming the Meatballs
Now, for the fun part—shaping the meatballs! Grab a small handful of the meat mixture and roll it between your palms to form a ball. I usually aim for about 1.5 to 2 inches in diameter, but you can make them smaller or bigger if you like. Just try to keep them all roughly the same size so they cook evenly. Place each meatball on a baking sheet lined with parchment paper. I like the parchment paper so it doesn't stick.
If you’re having trouble getting them perfectly round, don’t sweat it. They don’t have to be flawless, they’re going to taste amazing regardless. The important thing is to pack them gently, so they hold their shape. Once you've formed all your meatballs, they are ready to bake. And, if you're not baking them right away, you can cover the baking sheet with plastic wrap and store them in the fridge for a few hours until you're ready.
Step | Description | Tips |
|---|---|---|
Mix Ingredients | Combine meat, spices, and cheese in a large bowl | Mix gently to avoid tough meatballs |
Form Meatballs | Roll mixture into 1.5-2 inch balls | Keep them uniform for even cooking |
Expert Tips for Juicy Meatballs (No Breadcrumbs)

Expert Tips for Juicy Meatballs (No Breadcrumbs)
Don't Overmix the Meat
Alright, so you've got your meatball mixture ready to go. Now, here's a crucial tip: don't overmix it. I know, it's tempting to really work the mixture to make sure everything is perfectly combined, but trust me, you don't want to do that. Overmixing develops the gluten in the meat, which can make your meatballs tough and dense. You are going to end up with something more akin to a hockey puck than a juicy meatball.
Instead, mix the ingredients just until everything is evenly distributed. I like to use my hands for this, because it gives me a better feel for when everything is just combined. You're aiming for a mixture that's cohesive but not pasty. Remember, the goal is to keep those meatballs light and tender, and that starts with not overworking the meat. If you're using a spoon or spatula, be gentle, just fold the ingredients together until they're mixed.
Bake, Don't Overbake
Next up, baking! This is where things can go south if you're not careful. The key to juicy meatballs is to not overbake them. You want them cooked through, of course, but you don't want to dry them out. I usually bake mine at 400°F (200°C) for about 20-25 minutes, but this can vary depending on the size of your meatballs and your oven.
The best way to tell if they're done is to use an instant-read thermometer. The internal temperature should reach 165°F (74°C). I know, it sounds a little scientific, but it's the most reliable way to make sure your meatballs are cooked to perfection. If you don't have a thermometer, you can also cut one open to check if it's cooked through, but try to avoid doing this too much because you will lose the juice. It's always better to slightly undercook them than overcook them, they'll continue to cook a little after you take them out of the oven.
Tip | Description |
|---|---|
Don't Overmix | Mix gently until just combined to avoid tough meatballs. |
Don't Overbake | Bake until internal temperature reaches 165°F (74°C). |
Resting is Key
Okay, so your meatballs are out of the oven and smelling amazing. Now, before you go diving in, here's one last crucial tip: let them rest. I know, it's hard to resist, but giving them a few minutes to rest allows the juices to redistribute, resulting in a much juicier meatball. I usually let mine sit on the baking sheet for about 5-10 minutes before serving them.
Think of it like letting a steak rest after you cook it. It's the same principle, it lets the meat relax and become more tender and juicy. If you're planning on adding them to sauce, you can transfer them to the sauce after they've rested. This allows them to soak up all that delicious flavor without drying out. Trust me on this, resting is a game-changer.
Serving & Storing Your Easy Meatball Recipe

Serving & Storing Your Easy Meatball Recipe
Serving Suggestions
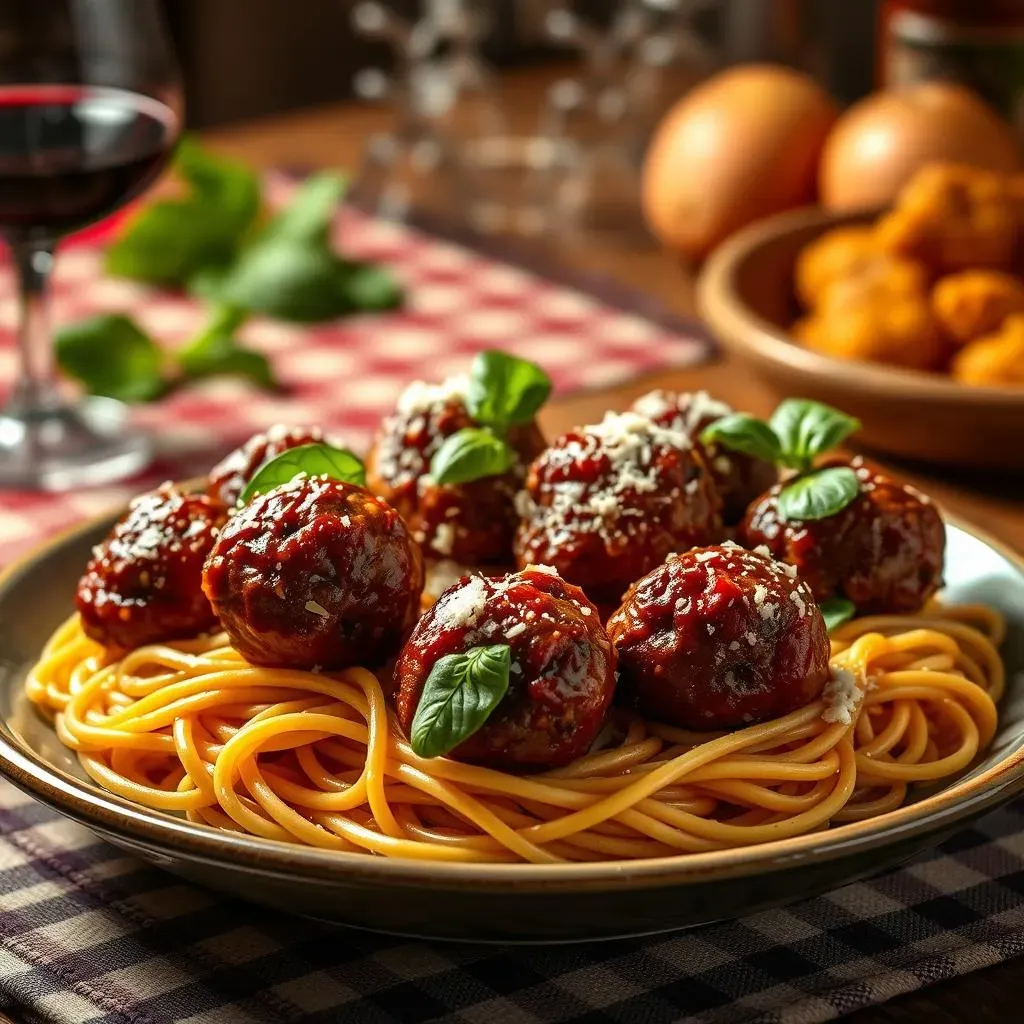
Alright, so you've got these amazing, juicy meatballs, now what do you do with them? The possibilities are endless! My personal favorite is to toss them in some marinara sauce and serve them over a bed of zucchini noodles for a light and healthy meal. But, if you're not feeling the zoodles, you can totally go with classic spaghetti or any pasta you like. They also taste great with mashed cauliflower or even just on their own as a protein-packed snack.
If you're having a party, these meatballs are a perfect appetizer. Just stick a toothpick in each one and arrange them on a platter. They're always a crowd-pleaser. You can also get creative with your sauces. Instead of marinara, try a pesto sauce or a creamy alfredo. Or, go for something totally different, like a sweet and sour sauce. The best part about this recipe is how versatile it is, you can really make it your own.
Storing Leftovers
Okay, let's talk leftovers—if you have any, that is! These meatballs store really well, so they're perfect for meal prepping or a quick lunch the next day. Once they've cooled down, I like to transfer them to an airtight container and pop them in the fridge. They'll keep for about 3 to 4 days, no problem. Just make sure they're not still warm when you put them in the fridge.
If you want to keep them longer, you can freeze them. I like to lay them out on a baking sheet lined with parchment paper and freeze them individually. Once they're frozen solid, I transfer them to a freezer bag. This way, they don't stick together. You can keep them in the freezer for up to 3 months. When you're ready to eat them, just thaw them in the fridge overnight, or you can reheat them straight from frozen.
Storage Method | Duration | Tips |
|---|---|---|
Refrigerator | 3-4 days | Store in an airtight container. |
Freezer | Up to 3 months | Freeze individually first, then transfer to a bag. |
Reheating Tips
Now, for the crucial part: reheating! You don't want to ruin all your hard work by drying out those beautiful meatballs. If you're reheating them from the fridge, you can just pop them in the microwave for a minute or two, or you can reheat them in a skillet with a little bit of sauce. I like to add a splash of water or broth to the pan to keep them moist.
If you're reheating them from frozen, the best way is to thaw them first in the fridge, but if you're in a rush you can reheat them directly from frozen. Put them in a skillet with some sauce and cook them over low heat until they're heated through. Just be gentle, you don't want to break them apart. The most important thing to remember is to not overheat them. You want them warm and juicy, not dry and overcooked.