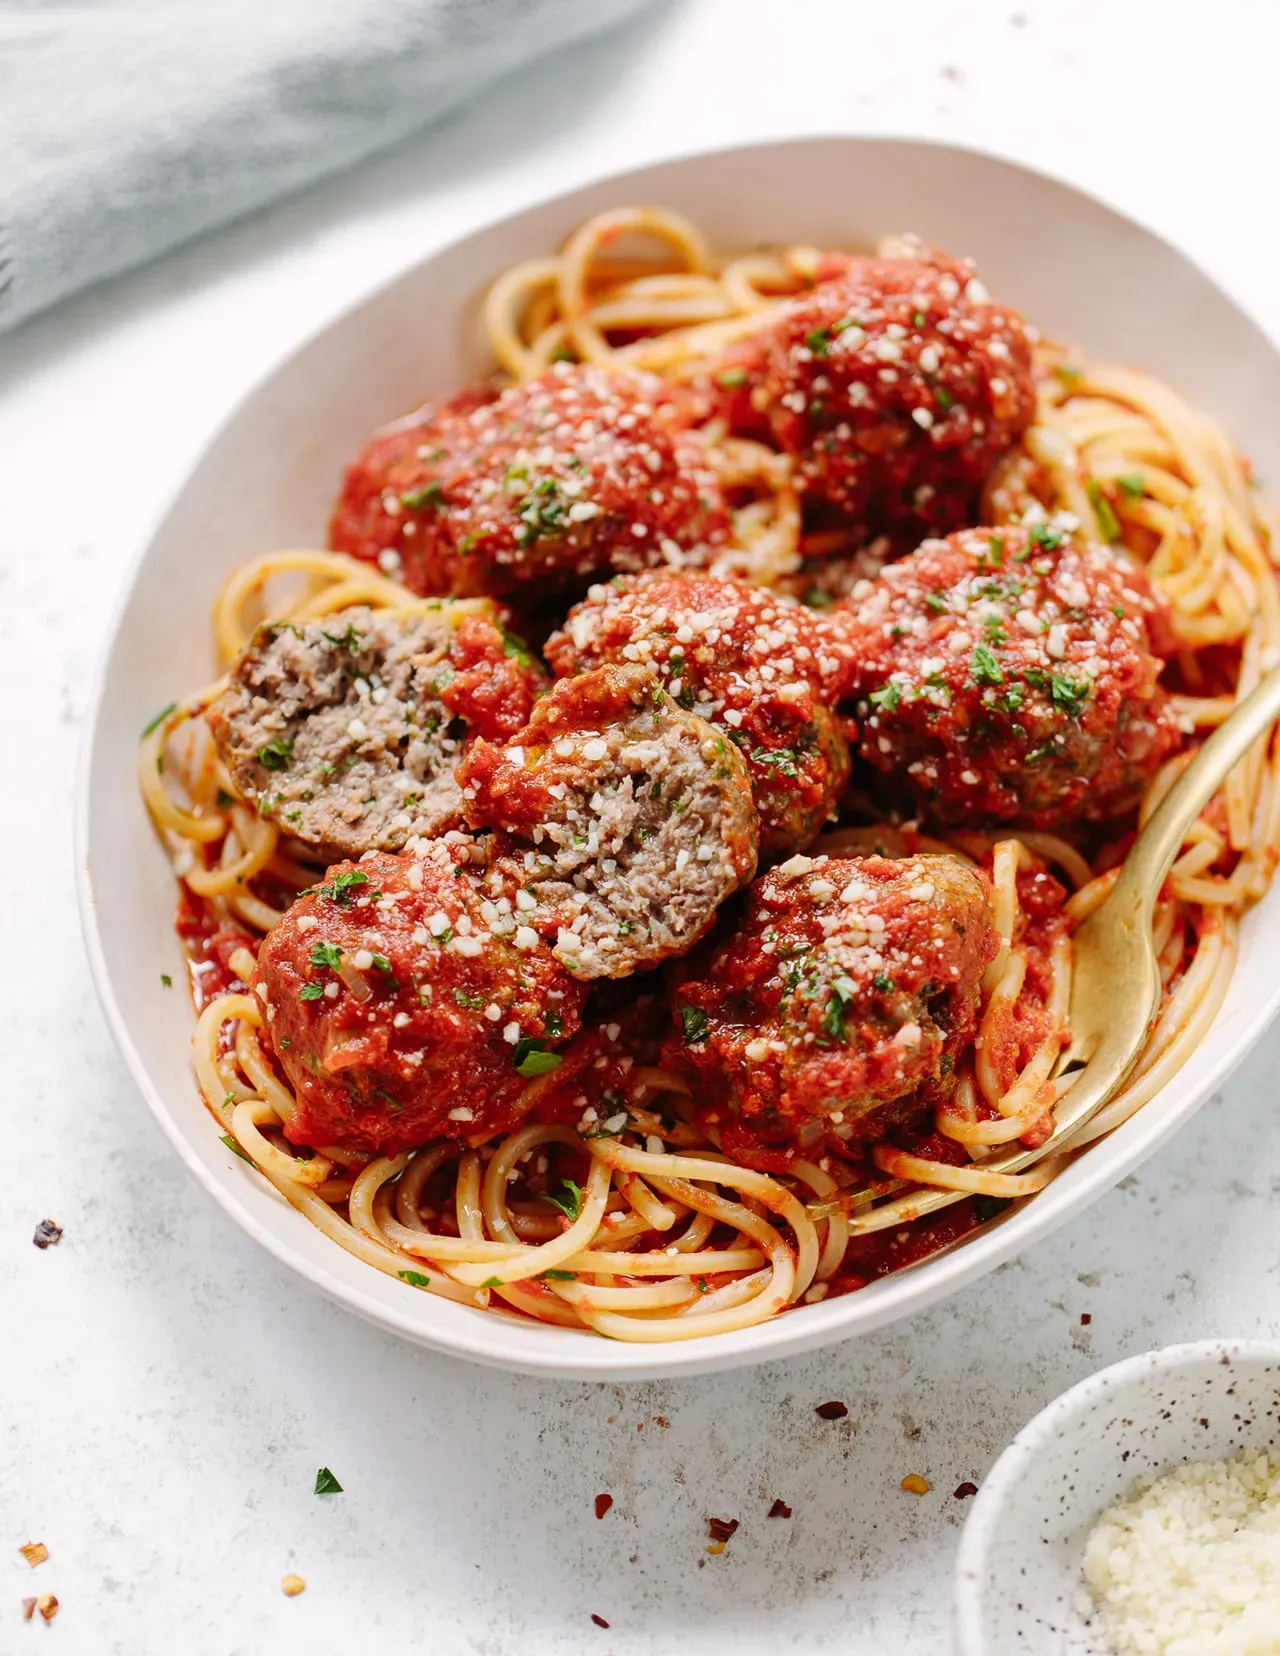
Let's be honest, finding a truly great meatball recipe can feel like chasing a unicorn. Too many end up dry, dense, and tasting like sad little hockey pucks simmered in sauce. You want that tender, juicy bite, the kind that reminds you of Sunday dinner, even if you didn't grow up eating Sunday dinner at Nonna's house. That's where a proper old school italian meatball recipe comes in. This isn't about reinventing the wheel; it's about respecting the classics and understanding the simple steps that make all the difference.
Finding the Best Ingredients for Your Old School Italian Meatball Recipe
Finding the Best Ingredients for Your Old School Italian Meatball Recipe
Alright, let's talk turkey, or rather, beef and pork, because the foundation of any killer old school italian meatball recipe starts with the stuff you put in it. You can't make gold from lead, and you certainly can't make tender, flavorful meatballs from sad, pre-packaged mystery meat. We're aiming for a classic blend here. Most grandmas worth their salt used a mix – typically beef and pork. Some purists add veal, which definitely adds tenderness, but honestly, a good blend of ground beef (like chuck, around 80/20 lean-to-fat ratio) and ground pork gets you 90% of the way there. Don't skimp on quality; hit up a butcher if you can, or at least look for fresh, well-marbled ground meat at the grocery store. The fat is your friend here; it keeps things juicy.
Crafting the Perfect Mix for Tender Old School Italian Meatballs
Crafting the Perfect Mix for Tender Old School Italian Meatballs
you've got your meat sorted. Now comes the real magic in crafting the perfect mix for tender old school italian meatballs: the binder. Forget dry breadcrumbs straight from the canister; that's a rookie mistake. The secret weapon here is the panade – that's fancy chef talk for a mixture of starch and liquid. We're talking fresh or stale bread, crusts removed, soaked in milk until it's soft and mushy. Squeeze out the excess milk, but don't wring it bone dry. This milky bread is what keeps the meatballs incredibly moist. Combine this with your ground meat, finely grated Parmesan or Pecorino cheese (use the real stuff, please), minced garlic (not garlic powder!), chopped fresh parsley, an egg or two (for binding), salt, and pepper. Some folks add a pinch of red pepper flakes for a little kick. The key is to mix everything gently. Overworking the meat makes it tough. Use your hands, but treat the mixture like delicate dough, not cement. Just mix until everything is *just* combined. No need to knead it like bread.
Shaping and Cooking Your Old School Italian Meatball Recipe
Shaping and Cooking Your Old School Italian Meatball Recipe
Getting the Size and Shape Right
So, you've got this perfectly mixed meatball mixture – moist, fragrant, ready for its close-up. Now comes the shaping. Nobody wants a giant meatball the size of a baseball; they take forever to cook through evenly and just aren't practical. Aim for something roughly golf-ball sized, maybe slightly smaller. Use a spoon or a small scoop to get consistent amounts, then gently roll them between your palms. Remember that gentle touch we talked about when mixing? Apply it here too. Don't pack them too tightly; you want them to stay tender. A light hand is key for achieving that melt-in-your-mouth texture in your old school italian meatball recipe.
The Crucial Browning Step
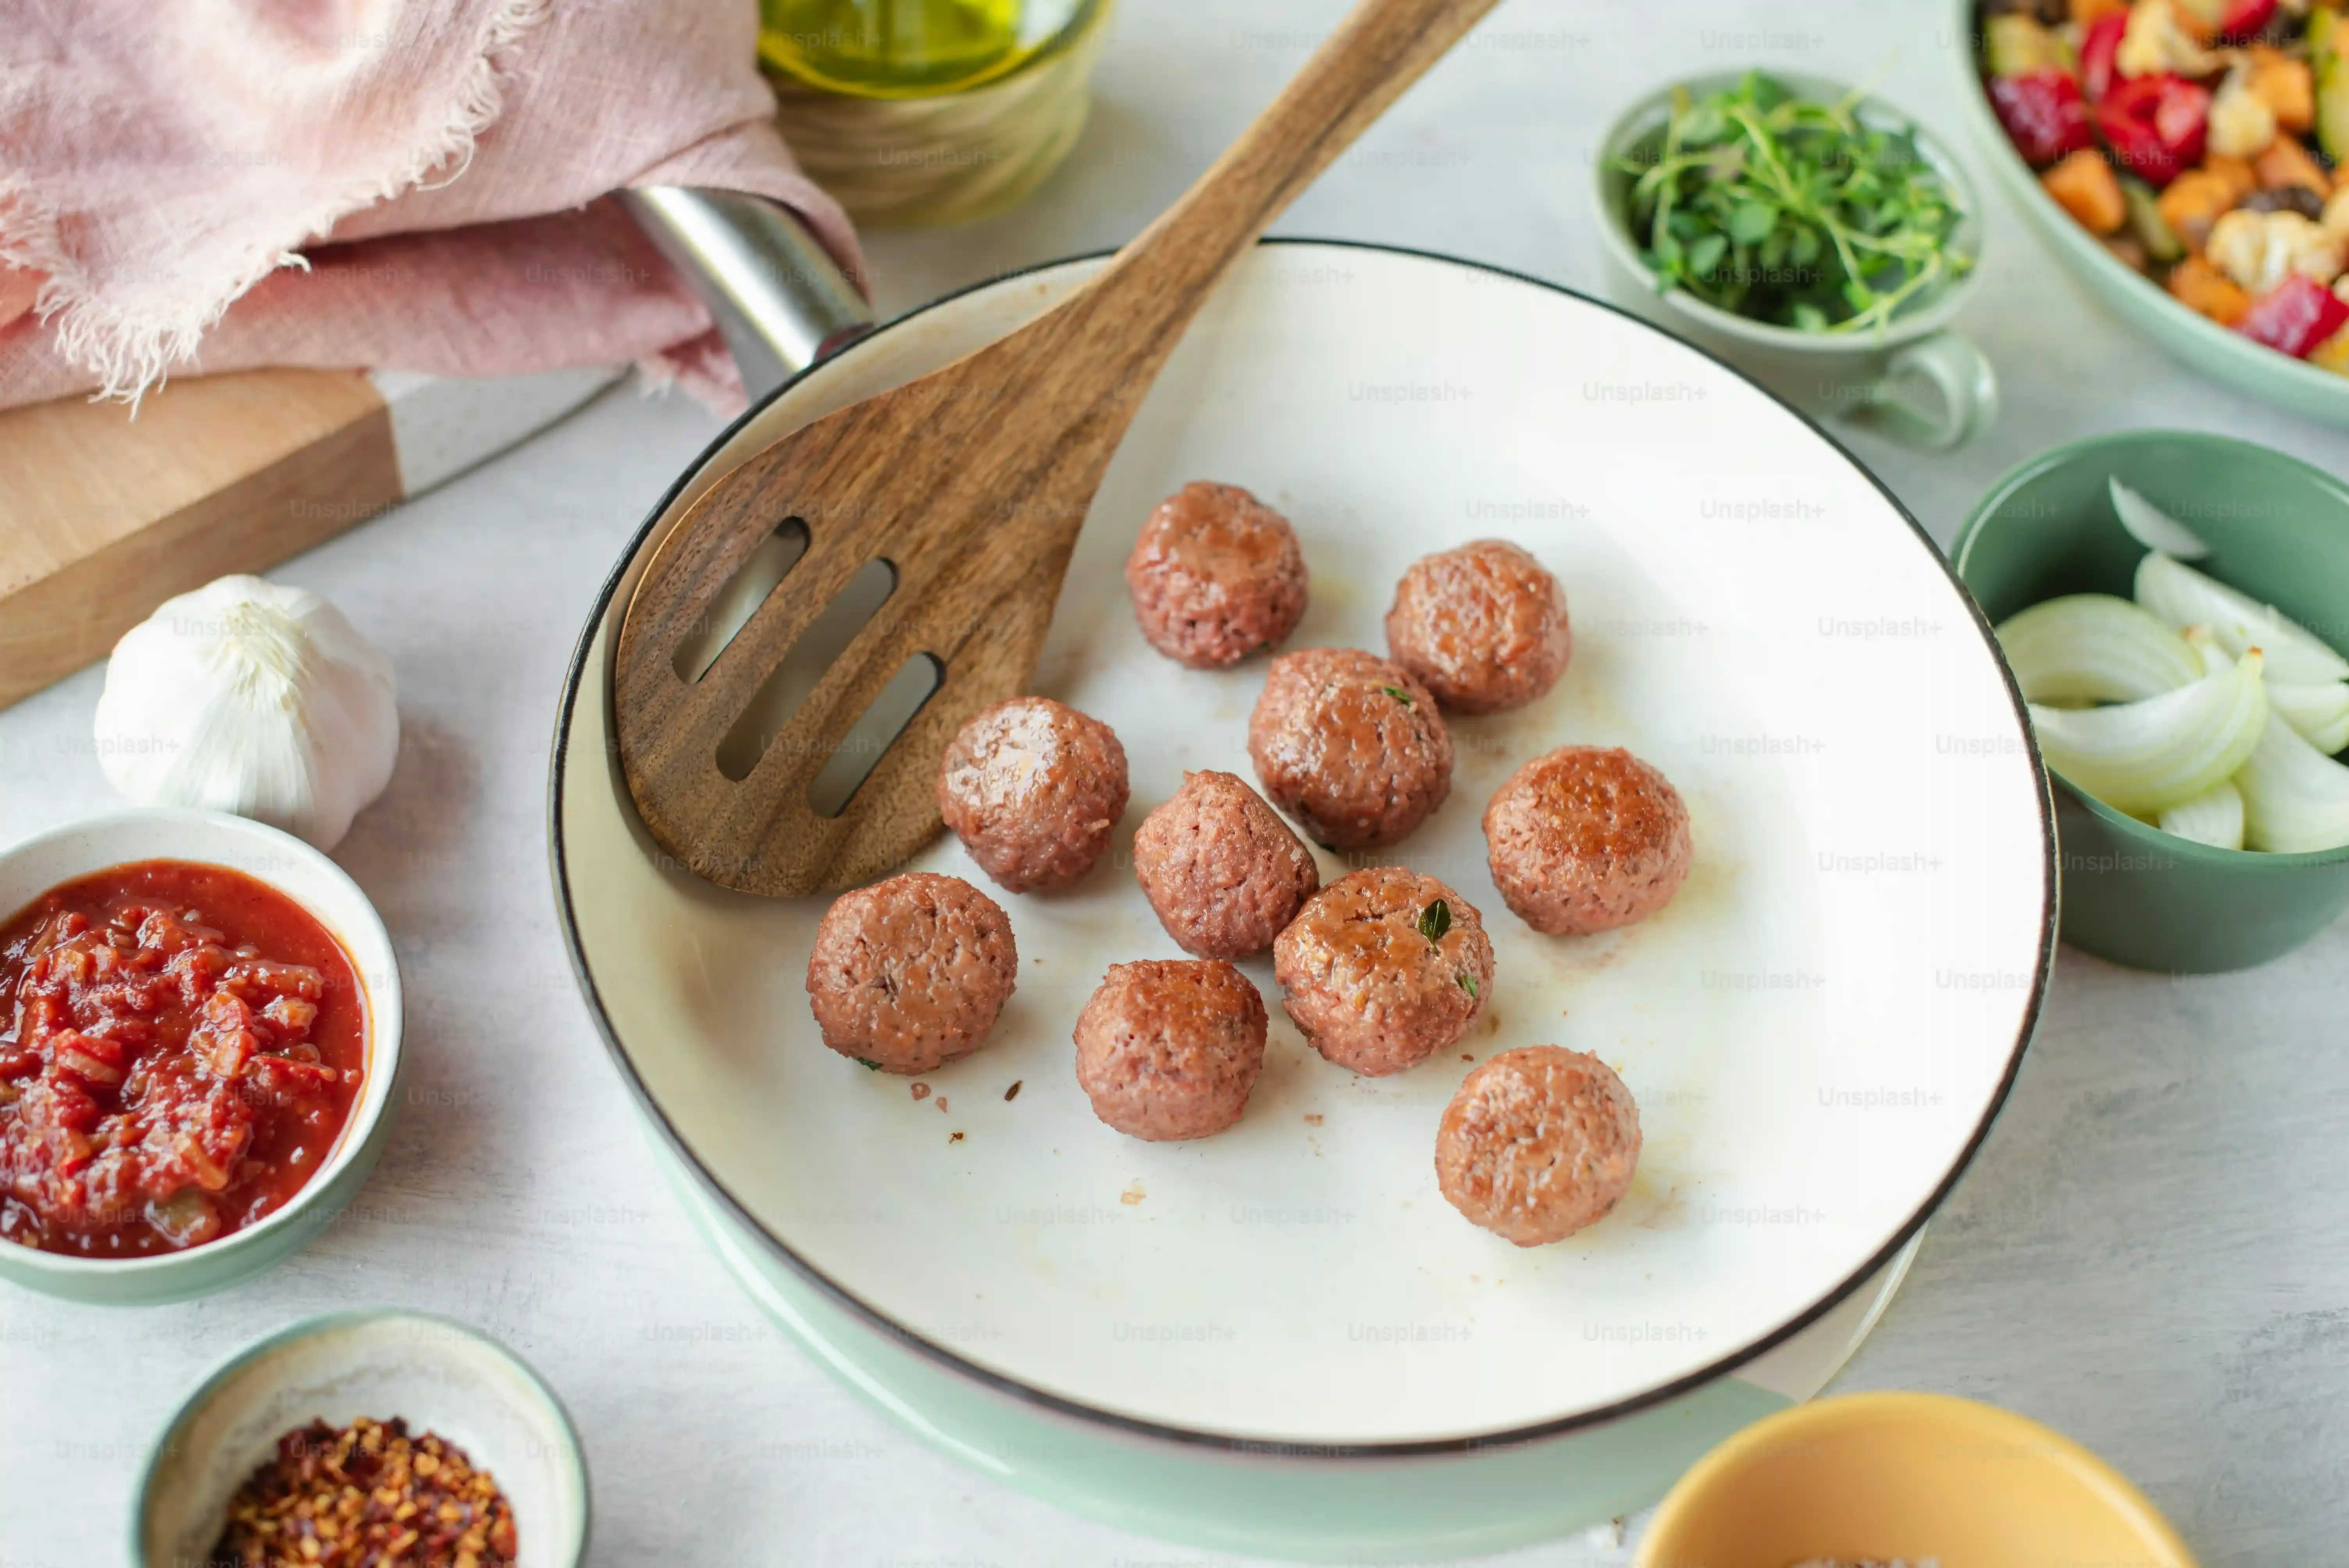
Before they hit the sauce, these little guys need some color. Browning isn't just for looks; it builds flavor. Heat some olive oil or a mix of olive oil and a little butter in a large, heavy-bottomed pan over medium-high heat. Don't crowd the pan! Cook them in batches if you need to. Give them space so they brown nicely on all sides, about 3-5 minutes per batch. You're not cooking them all the way through here, just getting a beautiful crust. This step locks in juices and adds a depth of flavor you just can't get by dropping them straight into simmering sauce. It's a non-negotiable part of a proper old school italian meatball recipe.
- Use a scoop for uniform size.
- Roll gently, don't pack tight.
- Brown in batches – don't crowd the pan.
- Aim for color, not cooked through.
- This browning step adds crucial flavor.
Finishing Them Off: Simmer or Bake?
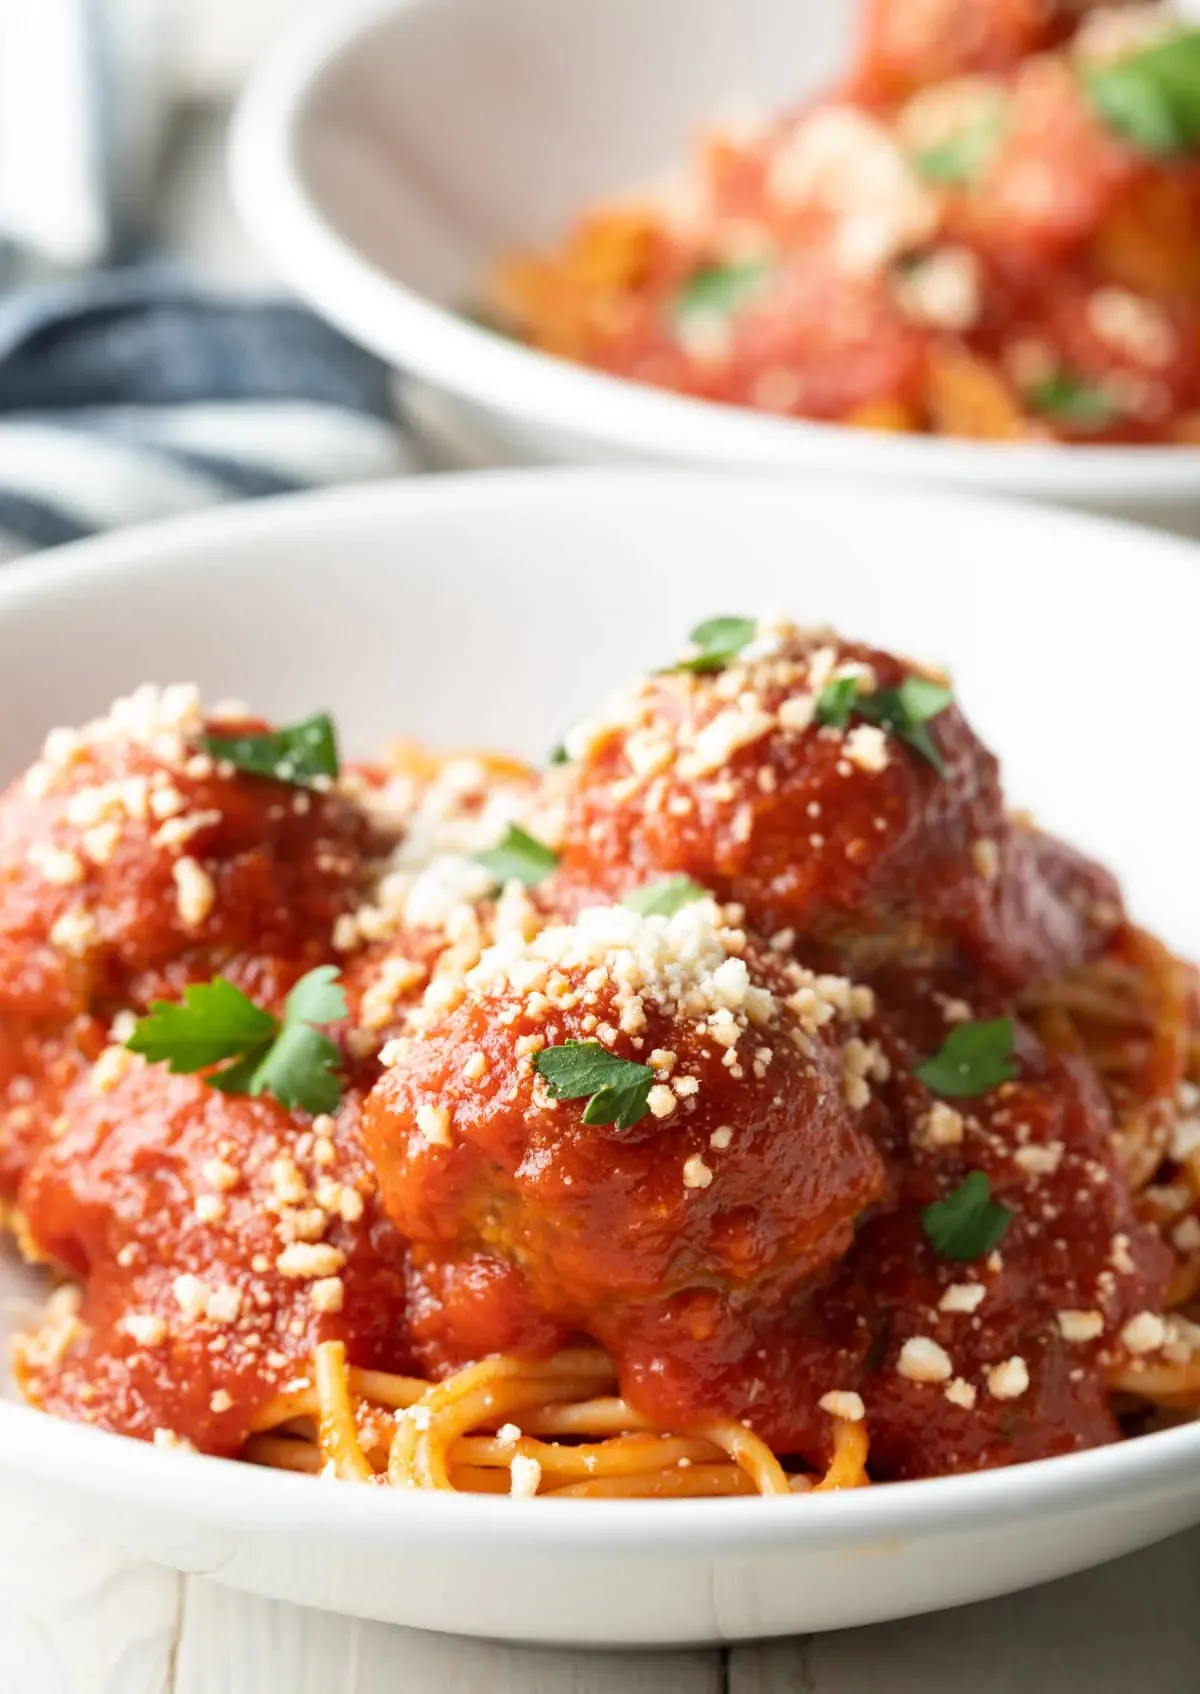
Once your meatballs are beautifully browned, they're ready for their final act. Traditionally, this means simmering them gently in your favorite tomato sauce. This is where they absorb all that wonderful flavor and finish cooking through. Drop the browned meatballs into simmering sauce, cover the pan, and let them cook for at least 20-30 minutes, or even longer. The longer they simmer, the more tender and flavorful they become as they soak up the sauce. Alternatively, if you're not using sauce immediately or prefer baking, you can arrange the browned meatballs on an oiled baking sheet and bake them at around 425°F (220°C) for about 15-20 minutes until cooked through. Both methods work for your old school italian meatball recipe, but simmering in sauce adds that classic, rich depth.
Stovetop vs. Oven: Cooking Your Meatballs Just Right
Stovetop vs. Oven: Cooking Your Meatballs Just Right
Simmering for Sauce Absorption
you've got those beautifully browned meatballs ready. Now, how do you finish them off so they're cooked through but still juicy? The classic, the absolute go-to for a truly authentic old school italian meatball recipe destined for pasta, is simmering them in sauce. This isn't just about cooking; it's about infusion. Dropping those browned spheres into a pot of gently bubbling marinara allows them to soak up all that rich tomato goodness while they finish cooking slowly. It keeps them incredibly moist and adds layers of flavor you simply can't replicate any other way. We're talking at least 20-30 minutes, covered, over low heat. The longer they hang out in that sauce, the happier everyone will be.
Baking for Convenience and Structure
Maybe you're not making sauce right this second, or maybe you prefer a slightly firmer meatball that holds its shape a bit better for, say, a meatball sub. That's where baking comes in. After browning, you can line them up on a baking sheet (parchment paper is your friend here for easy cleanup). Pop them into a hot oven, around 425°F (220°C). They'll need about 15-20 minutes to cook through, depending on their size. Baking gives them a nice, even finish without the constant attention simmering requires. It's a perfectly legitimate method for your old school italian meatball recipe, especially when sauce isn't the immediate destination.
Cooking Method | Best For | Key Benefit | Approximate Time (after browning) |
|---|---|---|---|
Stovetop (Simmering in Sauce) | Pasta dishes, soaking up maximum flavor | Maximum tenderness and flavor infusion | 20-30+ minutes |
Oven (Baking) | Meatball subs, serving without immediate sauce, convenience | Holds shape well, even cooking | 15-20 minutes |
Making Ahead and Storing Your Classic Italian Meatballs
Making Ahead and Storing Your Classic Italian Meatballs
Prepping Your Meatballs for Later
Life gets busy, right? You don't always have hours to dedicate to Sunday sauce on a random Tuesday. That's where the beauty of Making Ahead and Storing Your Classic Italian Meatballs truly shines. You can dedicate an afternoon when you actually have some free time to make a massive batch – double or triple the recipe. Get the mixing done, shape all those beautiful little spheres, and get them ready for their future. The key is to think about how you'll use them later. Will they go straight into simmering sauce? Or will they need to be fully cooked first? Planning this helps decide the best storage method.
The Chill Before the Freeze
Once your meatballs are shaped, resist the urge to just toss them into a bag and freeze them in one giant clump. Trust me, you'll regret it when you're trying to pry them apart later. The trick to successful freezing when Making Ahead and Storing Your Classic Italian Meatballs is to get them firm first. Place the raw, shaped meatballs on a baking sheet lined with parchment paper. Make sure they aren't touching each other. Pop this sheet into the freezer for an hour or two, just until they're solid enough to handle without losing their shape. This initial freeze prevents them from sticking together in the long run.
- Shape meatballs evenly.
- Place on a parchment-lined baking sheet.
- Ensure meatballs aren't touching.
- Freeze for 1-2 hours until firm.
- This prevents sticking in the freezer bag.
Freezing and Thawing Like a Pro
After they've had their initial chill and are firm, you can transfer the meatballs to freezer-safe bags or containers. Label them with the date – you think you'll remember when you made them, but you won't. They'll keep well in the freezer for up to 2-3 months. When you're ready to use them, you've got options. You can often drop the frozen meatballs directly into simmering sauce (they'll just need a bit longer to cook through). If you're baking them, you can usually bake from frozen, adding a few extra minutes to the cooking time. Avoid thawing them completely on the counter, which can make them soggy. Proper Making Ahead and Storing Your Classic Italian Meatballs means convenience without sacrificing quality.
Mastering the Old School Meatball
You've gone through the steps: selecting the right components, understanding the role of that milk-soaked bread, and handling the mix with care. This isn't rocket science, but it does require paying attention. The goal was a tender, flavorful result, not another batch of rubber balls. By following this path for your old school italian meatball recipe, you should consistently produce meatballs that are juicy enough to stand on their own, or stand up to a long simmer in sauce without turning into dense little bricks. It comes down to respecting the ingredients and the process; there are no shortcuts to that texture.